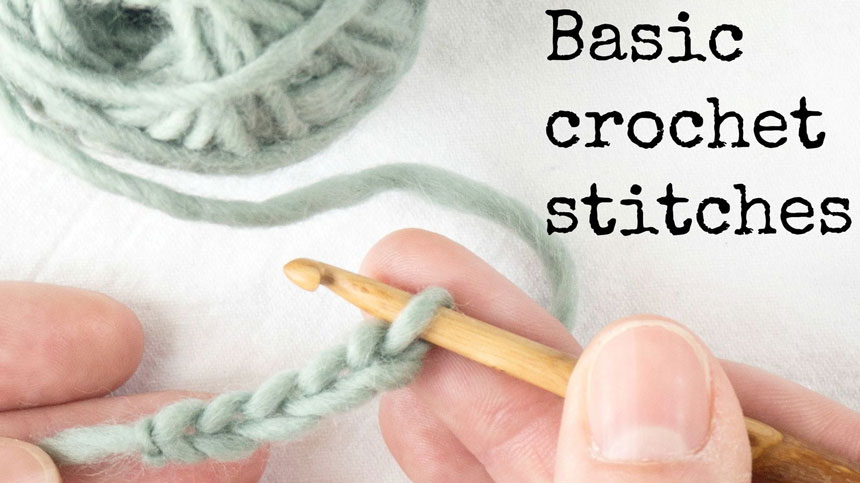
After selecting a beautiful yarn and procuring a hook the appropriate size, making a foundation chain is the first step to making anything with crochet. It is equivalent to the first row of bricks in a wall, on- or rather into which the next row of bricks, your first row of stitches will be added. I find the process of making a chain immensely soothing and could happily use up an entire skein of yarn simply making these satisfying interlocking loops.
The aim with this first is to make, by means of the yarny loops, a sausage of yarn that resembles a plait or braid. Ideally the individual ‘links’ in the chain should be of approximately equal size but they are likely to be different in size for a little while if you are complete beginner. This is absolutely fine. Equality of woolly chain links will come as you learn to keep the tautness of your yarn consistent as you work. This is called the ‘tension’.
So, to begin on your foundation chain, make a slip knot as follows:
- take the end of your yarn and make a loop on your hand as shown

2. Bring the end of the yarn underneath the loop with you finger like this:

3. Pull that section of yarn through the loop while holding on the end. The loop will tighten.

4. This is called a slip knot and is adjustable. Pull the end of the yarn so that the loop of the knot shrinks to around 1cm long. You will create your foundation chain from this loop

A small hand-hook-yarn machine: There are innumerable ways in which to hold your hook and yarn but you need to find a way to make the conjunction of both of your hands, your tool (hook) and your material (yarn) into a sort of small machine. This is how I do this:
- Hold your crochet hook in your right hand: I hold mine as though I’m holding a pencil.
- Hold the end of the yarn between the thumb and first finger of your left hand. Around 8cm away from the slip knot, hold the yarn lightly between the third and fourth finger of your left hand. In this instance your third and fourth fingers are acting as your yarn feed in your little crocheting machine.
- As you make your stitches allow the yarn to be drawn from your ball and to slip through your 3rd/4th fingers. If you keep the tautness of the yarn between the latest stitch made and your 3rd/4th fingers consistent then this will help ensure consistent yarn tension and your stitches are more likely to be a predictable size.
Now to make your chain:
1. Push your crochet hook through the slip knot and bring the hook around and behind the yarn between slip knot and your 3rd/4th finger


2. Catch the yarn with the hook itself and bring a loop of yarn through the slip stitch. You have formed the first link in your foundation chain


3. Repeat this process as many times as you need to create a foundation chain of the correct length.

4. have a small celebration (perhaps a dance) because you have taken the first step towards crocheting your first garment


